








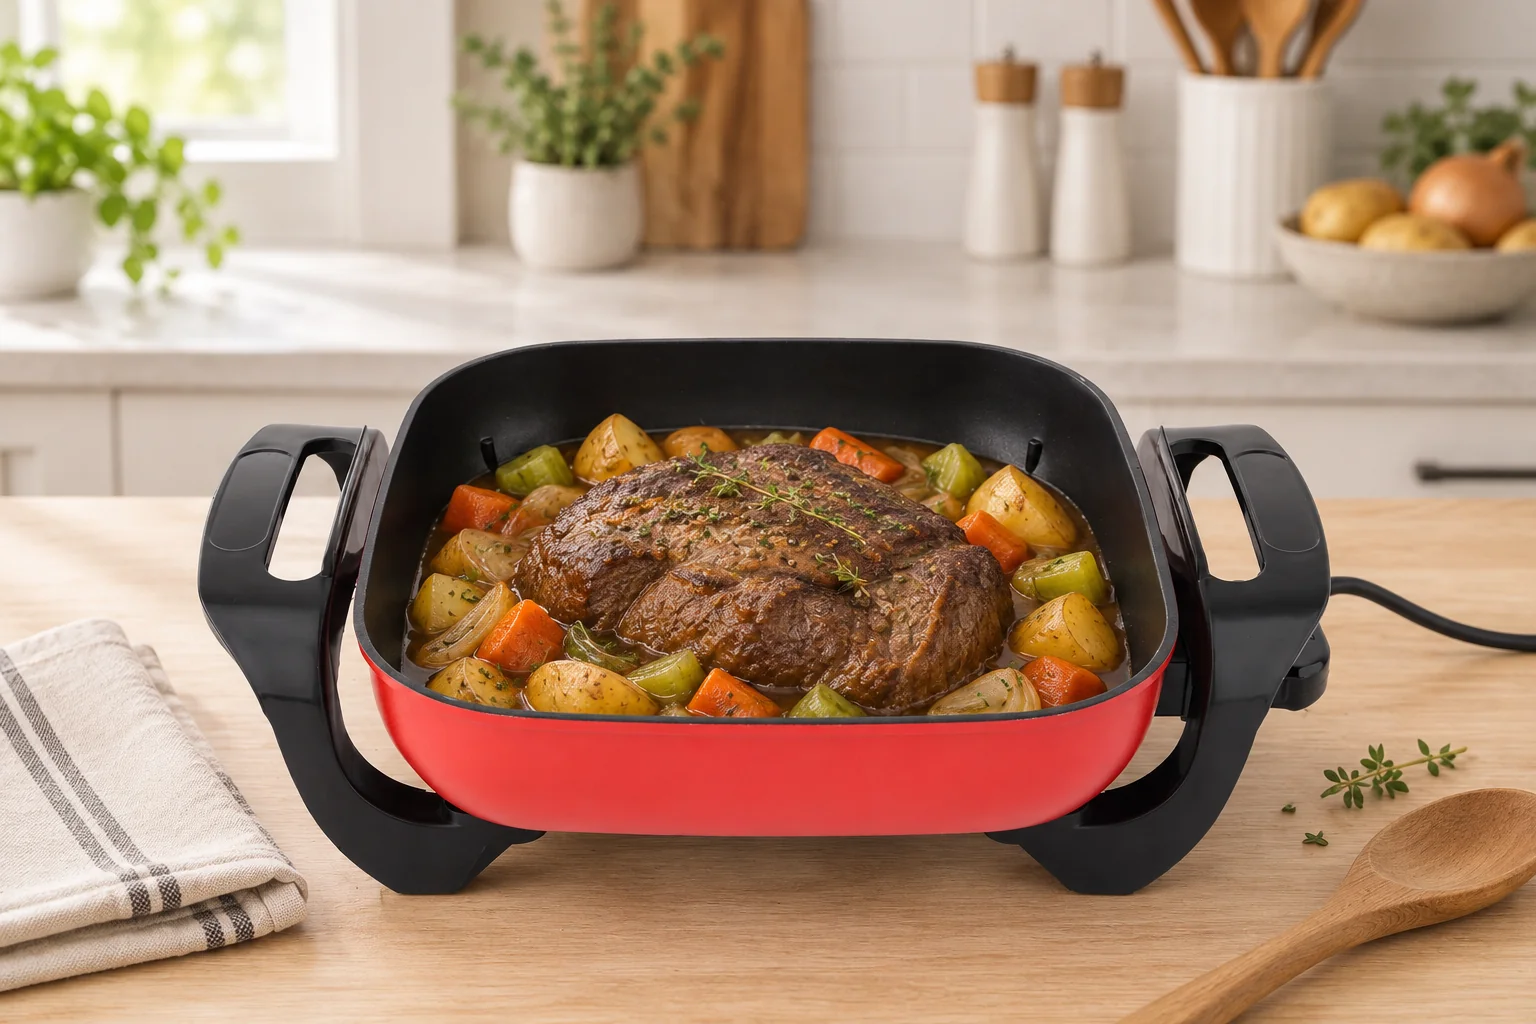
Electric Skillet Pot Roast: From a Rich Sear to Slow-Cooked Comfort
A memorable pot roast comes down to a few delicious details: a deeply browned crust, beef tender enough to pull apart with a fork, and potatoes and carrots that have soaked up the rich cooking juices.
An electric skillet makes this dish especially convenient because you can go straight from a high-heat sear to a gentle, steady braise in the same pan. There is no need to transfer the roast, and your oven stays free for other dishes.
The secret is knowing when to add each ingredient. Brown the beef first to build flavour, add onion and broth to form the braising liquid, then put in the root vegetables later so they hold their shape and texture. Here is how to bring those stages together in an electric skillet.
1. Ingredient Preparation and Cooking Order
Start with a boneless chuck roast, a cut well suited to long, gentle cooking. Check its thickness and shape as well as its weight: it should sit flat in the skillet, be easy to turn, and leave room for broth and vegetables with the lid closed.
| Ingredient | Preparation | When to Add | Purpose |
|---|---|---|---|
| Chuck Roast | Pat dry, then season evenly with salt, black pepper, thyme, garlic powder and paprika | First, in a dry skillet or with a little oil | Develop a rich brown crust through the Maillard reaction |
| Onion | Slice thinly | Once the beef is browned on all sides | Cook until soft and translucent to bring out its natural sweetness |
| Beef Broth, Worcestershire Sauce and Bay Leaves | Prepare in the required proportions and set aside a little extra broth | Once the onion has softened | Lift the browned bits from the pan and build a flavourful braising liquid |
| Potatoes, Carrots and Celery | Cut potatoes and carrots into large chunks and celery into long pieces | During the final 1 to 1.5 hours of braising | Keep the vegetables tender and intact without letting them fall apart |
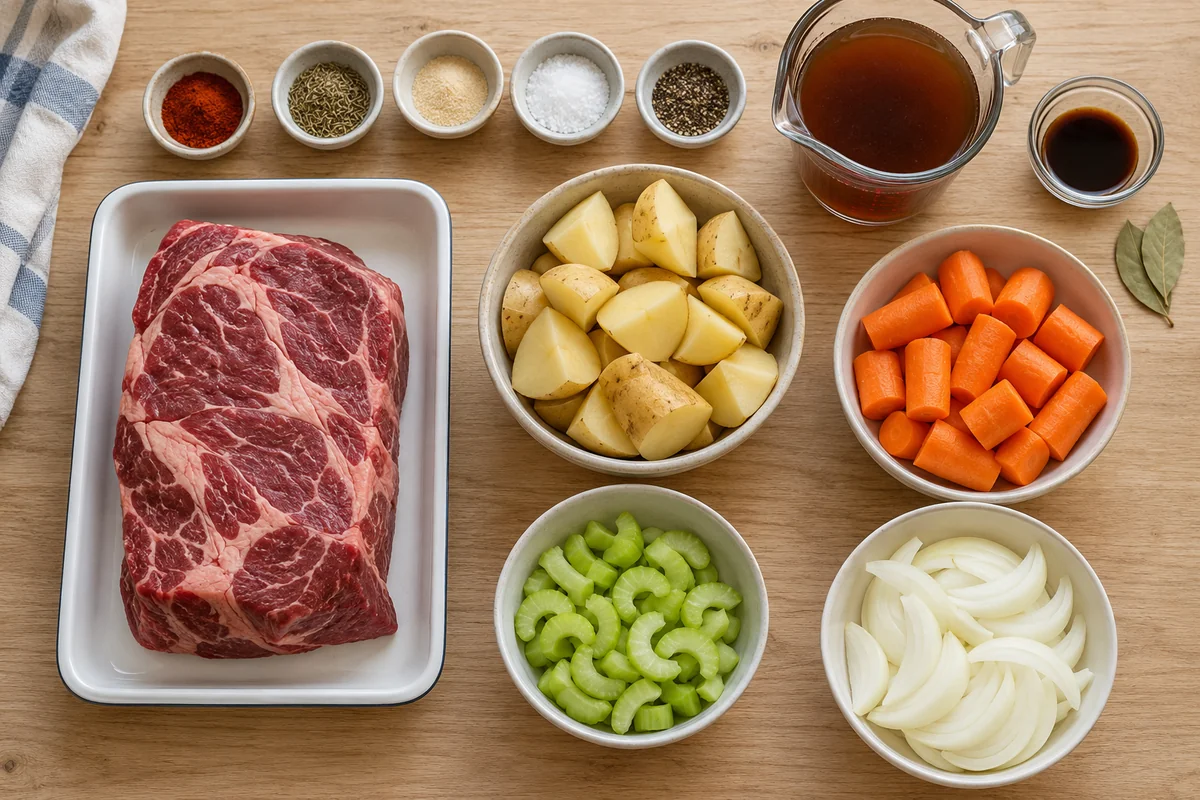
Safety and Preparation: Before cooking, have all your chopped ingredients and extra broth ready. Use a separate tray and tongs for raw beef, and keep cutting boards for raw and cooked foods separate to prevent cross-contamination from meat juices.
2. Cooking the Roast Step by Step
1. Searing
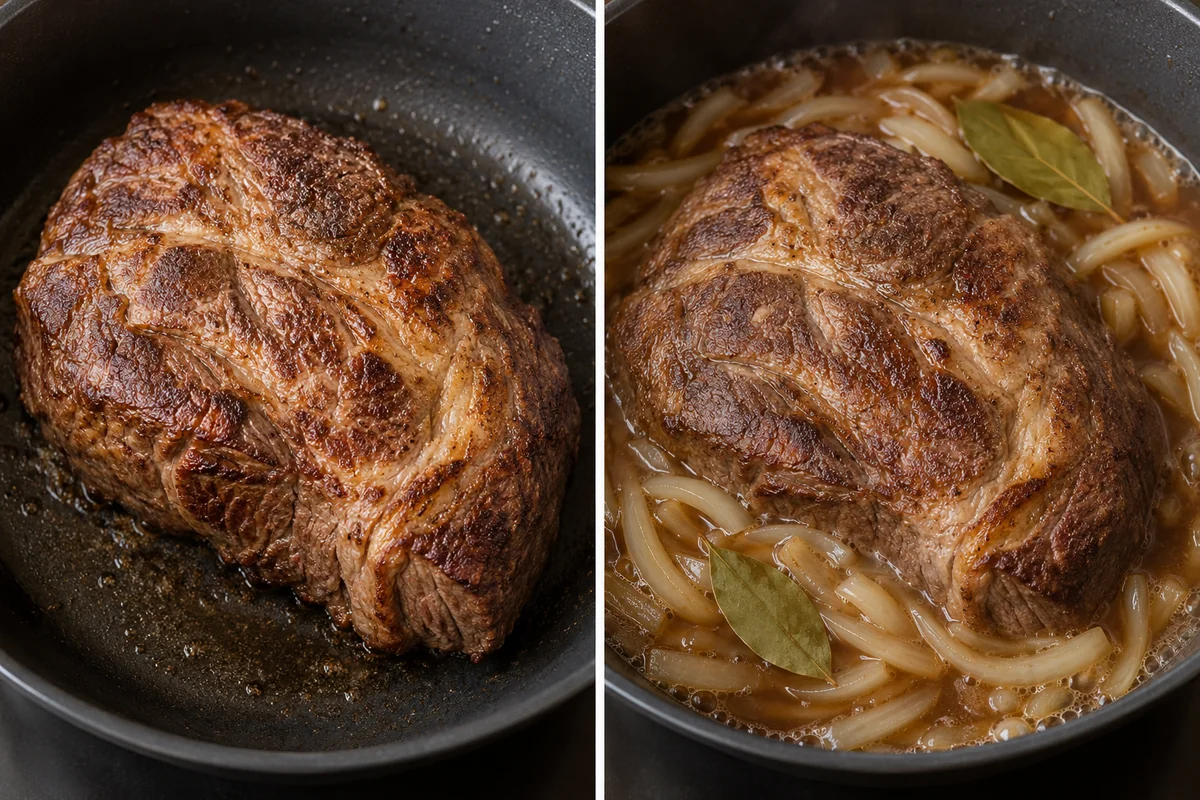
Switch on the electric skillet and preheat it to the searing setting. Add the beef after patting it dry and seasoning it. Take your time browning every side evenly, standing the roast on its edges as well as searing the broad surfaces. Watch the bottom of the pan: you want a deeply browned, flavourful crust, not burnt seasoning. Turn the heat down if the spices darken too quickly.
2. Deglazing and Building the Braising Liquid
Make room around the beef and sauté the sliced onion until softened. Pour in the beef broth, add a few drops of Worcestershire sauce, and tuck in the bay leaves. With a heat-resistant silicone or wooden spatula, gently loosen the browned bits on the bottom of the pan. These bits, known as fond, dissolve into the broth and give the cooking juices their depth of flavour.
3. Low and Slow
As soon as the liquid reaches a gentle simmer, cover the skillet and turn the dial down to a low simmer. Look for small, gentle bubbles; avoid a rolling boil. A whole chuck roast usually needs 2.5 to 3 hours of braising. Lift the lid occasionally to check the liquid level. If too much has evaporated, pour some of the reserved warm broth around the edge of the pan.
4. Adding the Vegetables Later
Potatoes and carrots will turn mushy if they cook with the beef for the full three hours. With about 1 to 1.5 hours left, lift the lid and arrange the vegetables around the roast, partly submerged in the cooking juices. Cover again and continue braising until a fork slips easily through the vegetables.
3. Checking Doneness and Serving
- Check Temperature and Tenderness: Insert a food thermometer into the centre of the beef to check that it has reached a safe temperature, then gently pull the meat apart with two forks. If the temperature is right but the meat still feels firm, the connective tissue needs more time to soften. Add a little liquid, cover, and keep braising until the beef pulls apart easily.
- Bring It to the Table: Remove and discard the bay leaves. Place the roast in the centre of a serving platter, arrange the tender carrots and potatoes alongside it, and spoon over the rich juices and softened onion. Serve with a baguette or white rice to soak up the sauce.
4. From the Recipe to the Skillet: Hebang JG-002A
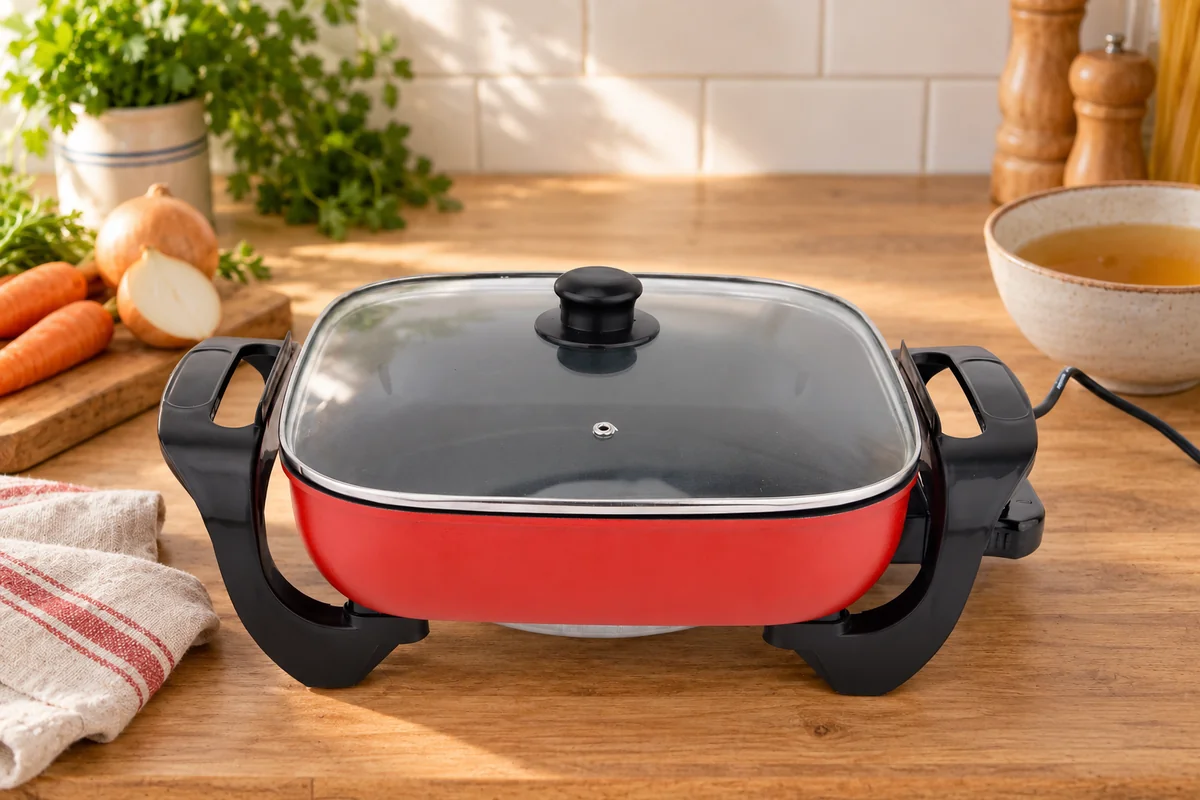
A good one-pan braise calls for steady temperature control and a well-designed cooking space. Our Hebang JG-002A electric skillet is built for cooking that starts with a high-heat sear and continues with a long, gentle braise:
- A Spacious, Flat Square Pan: The usable cooking area is substantially larger than in a traditional round pan. There is room to lay a large chuck roast flat, turn it comfortably, and add vegetables without crowding the pan.
- A Clear, Heat-Resistant Glass Lid: Keep an eye on the simmering juices during a long braise without repeatedly lifting the lid and releasing heat and moisture.
- Precise Rotary Temperature Control, with Stepless or Stepped Settings: The side-mounted dial responds quickly as you move from the heat needed for browning to a steady, gentle simmer, preventing scorching and dry, tough meat.
- Insulated Handles and a Detachable Design for Cleaning: The side handles remain safe to grip during a long braise. After cooking, disconnect the power and let the pan cool naturally. The detachable design keeps the electrical components separate, making cleaning and maintenance easier.
Product Sourcing and Supply Partnerships:
Whether destined for a busy home kitchen or selected by a discerning kitchen-appliance distributor, our Hebang JG-002A has passed rigorous tests for temperature uniformity and durability. Contact our Hebang sales team for the JG-002A specification sheet, OEM/ODM customisation options, or sample test reports.